Add new OCI system
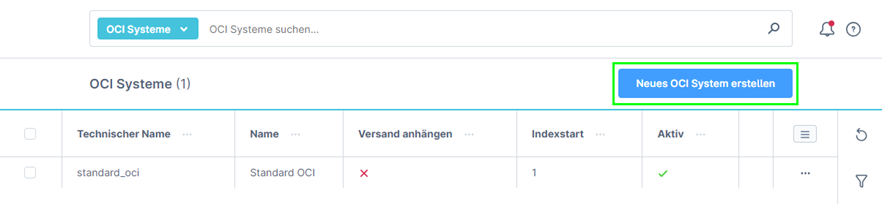
To add a (completely) new system, click on the ‘Create new OCI system’ button on the overview page.
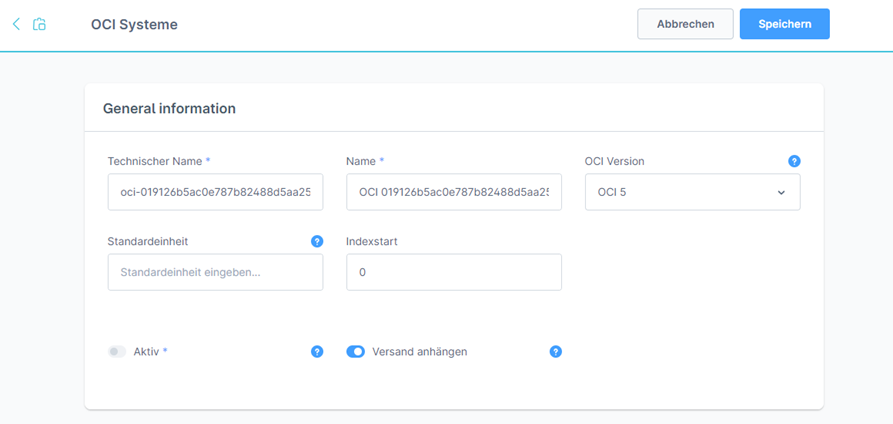
A new page will then open where you can enter the general information.
| Feldname | Beschreibung |
|---|---|
| Technical name | The technical name must be unique. Relevant for technical things. |
| Name | Name to be able to identify the system in the overview. |
| OCI version | Here you can choose between OCI version 4.0 and 5.0. |
| Standard unit | Serves as a final fallback if no unit of measurement has been specified for the items, but the customer system requires a unit of measurement. |
| Index start | The transfer of the products in the transfer starts with the specified number (1 → position 1). From experience, we recommend starting with 1 at this point, unless you receive other information from your customer. |
| Active | Indicates whether the system is active. When creating a new system, the value is set to inactive by default. |
| Attach shipping | Specifies whether the dispatch after all items should be transferred to the customer system as an extra item (fields for this can be configured separately). |
Once you have configured everything, click on the ‘Save’ button at the top top right for further configuration.
As there is no real difference between creating a completely new system and editing an existing system (except that you start with an empty system), you can follow the further steps under Configure OCI system.