General configuration
On this page:
- Buy AGIQON Connector in the Shopware Store and install it in the webshop
- Book licenses at https://agiqon-connector.de/en/
- Enter your client ID and your client secret in the plugin configuration under 'Extensions' > 'My Extensions'
- Set up your system
- Assign customers to a system
1. Buy AGIQON Connector in the Shopware Store and install it in the webshop
You find the plugin here: https://store.shopware.com/en/agiqo90562212497f/agiqon-connector-oci-cxml-ariba-coupa-sap.html
If you have previously used our old Shopware plugin ( https://store.shopware.com/en/agiqo28718063697m/sap-oci-punchout.html), you must first completely uninstall it and also remove all app data (as some of the database tables and functions used are the same). Otherwise errors will occur.
2. Book licenses at https://agiqon-connector.de/en/
System license
A system licence must be purchased for each system used (OCI or cXML, including a configuration of the transferred fields). This means that if you transfer other fields to another customer, for example, you will need another system licence.
A system licence always includes a customer licence, which can then be assigned to a customer within the system (see Chapter 3). Additional customer licences must then be purchased for further customers for the same system (or configuration).
User license
If another customer is to be added to an existing system (or configuration), you will need another customer licence for this system.
3. Enter your client ID and your client secret in the plugin configuration under ‘Extensions’ → ‘My extensions’
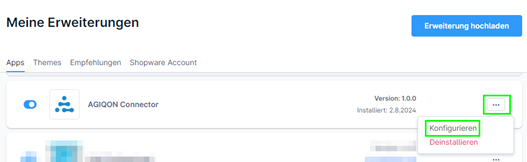
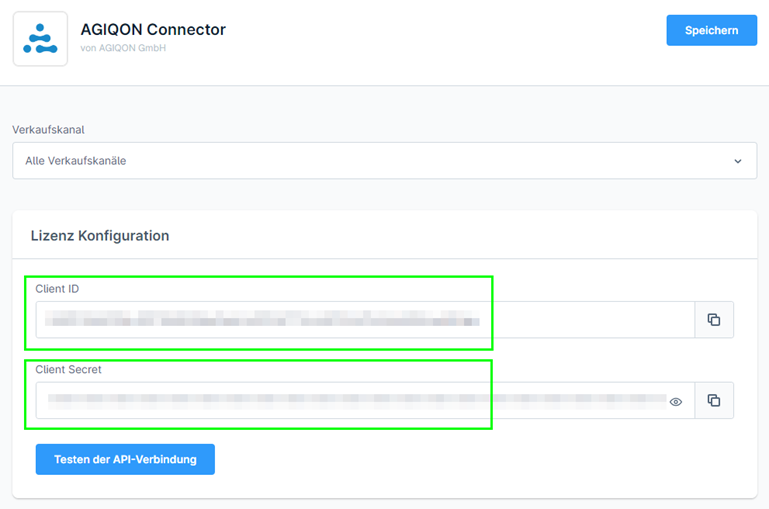
Once you have entered the data and saved the configuration, you can use the button to test whether the access data works. If they do not work, please contact us via the Shopware account and a support ticket or write to web@agiqon.de.
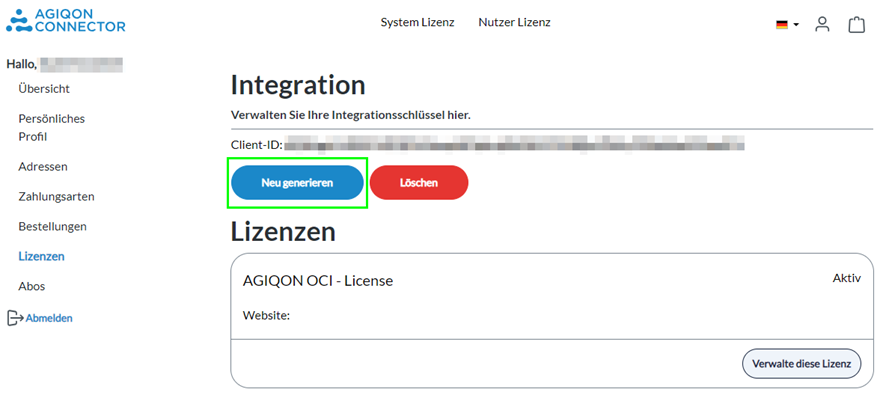
Die Client ID und das Client Secret finden Sie in Ihrem Kundenkonto unter https://agiqon-connector.de/en/account/license.
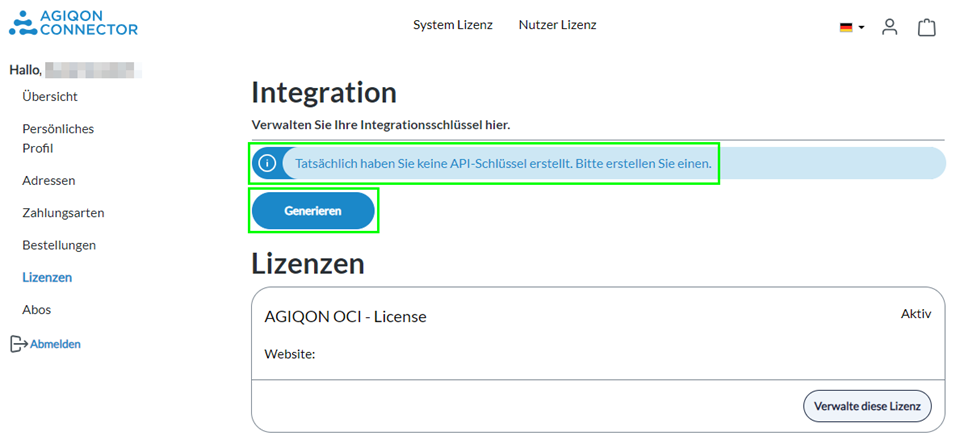
3.1 First-time generation
If you are accessing the customer account for the first time, no data has yet been generated here. To do this, click on the ‘Generate’ button.
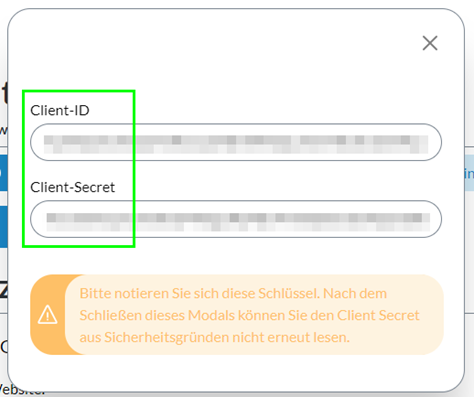
After a short wait, a pop-up appears with Client ID and Client Secret.
Important:
Make a note of your data in separate documentation!
After closing the pop-up, only the client ID is visible. To access the secret again, you must regenerate the client ID and secret.
3.2 New generation
If you can no longer find your Secret or if your data does not work, you can regenerate the Client ID and Secret (the old data will then be invalid). To do this, click on the ‘Generate new’ button in your customer account under ‘Licences’ (https://agiqon-connector.de/en/account/license)
After a short wait, the pop-up with Client ID and Secret opens. Again, the data should be recorded separately in documentation.
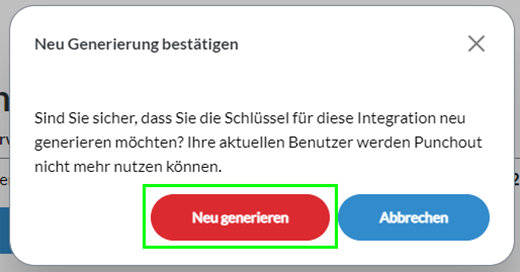
3.3 Delete
If you want to delete the Client ID and Secret (e.g. we instruct you to do so or for other reasons), you can do this using the ‘Delete’ button (also under ‘Licences’ in the customer account; https://agiqon-connector.de/en/account/license)). As soon as the button has been clicked, a pop-up will open, which must be confirmed again.

Important: If you delete the ID and secret, you must regenerate the data. The punchout with the previously generated data will then no longer work.
4. Set up your system
Further information on setting up the systems can be found here:
5. Assign customers to a system
Further information can be found here: